If you’ve recently purchased a Starlink Mini Dish, you already know how powerful it can be for fast, reliable satellite internet. However, the right accessories are needed for the most stable signal and performance—especially a secure mounting solution. That’s why the Adjustable Kit Pelekap Dinding untuk Starlink Mini is one of the best aksesori you can buy.
This blog will explain why this kit is essential and show you how to install it step by step—even if you’re not a professional.
Why a Wall Mount Kit is a Must-Have Accessory
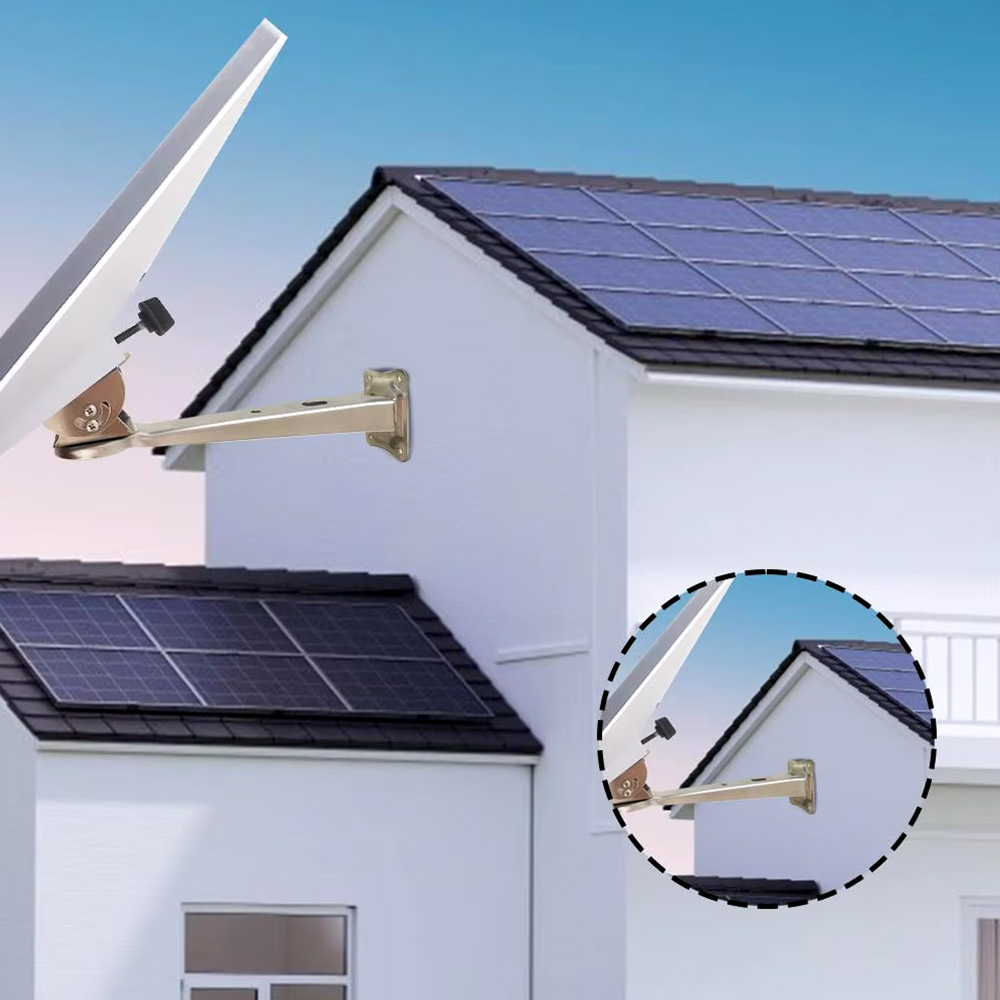
A good mount ensures your Starlink Mini stays in place, even in harsh weather. It also helps you angle the dish correctly for the best satellite signal.
Here’s why the adjustable wall mount kit stands out:
- Universal adjustable design for perfect alignment
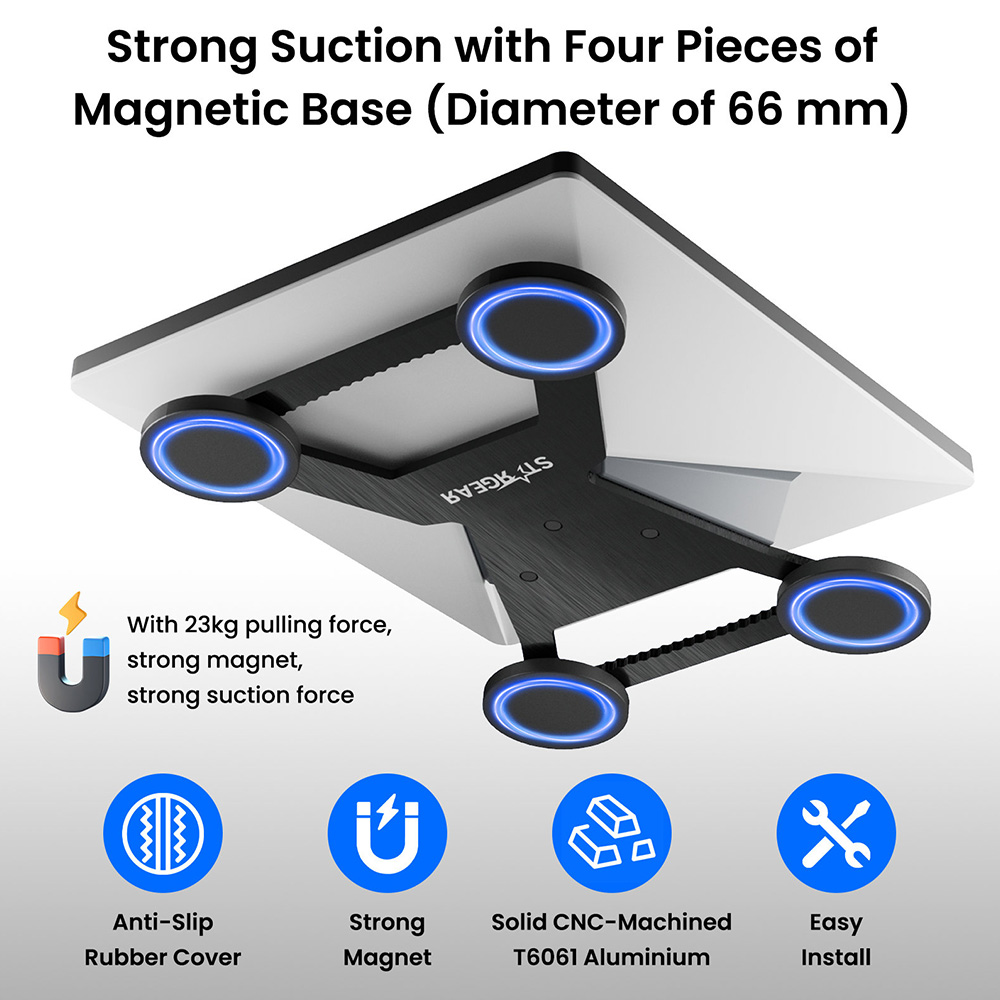
- Durable materials like stainless steel and aluminum alloy
- Rust-resistant and weatherproof, perfect for outdoor use
- Easy to install, no special tools required
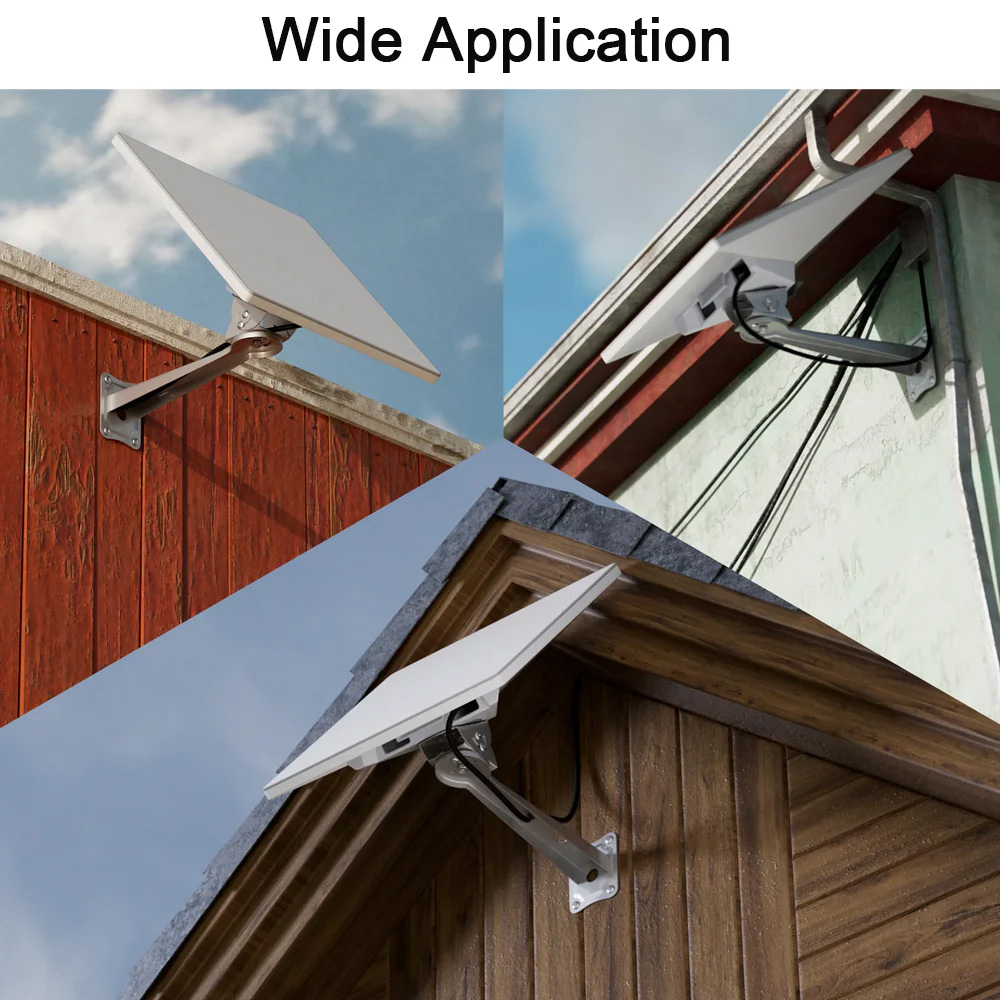
Whether you’re mounting your dish on a wooden cabin, a brick wall, or under the eaves of a roof, this accessory makes the process smooth and reliable.
Step-by-Step Guide: How to Install the Wall Mount for Starlink Mini
Let’s break down the simple 4-step installation process using the Starlink Mini adjustable mount kit.
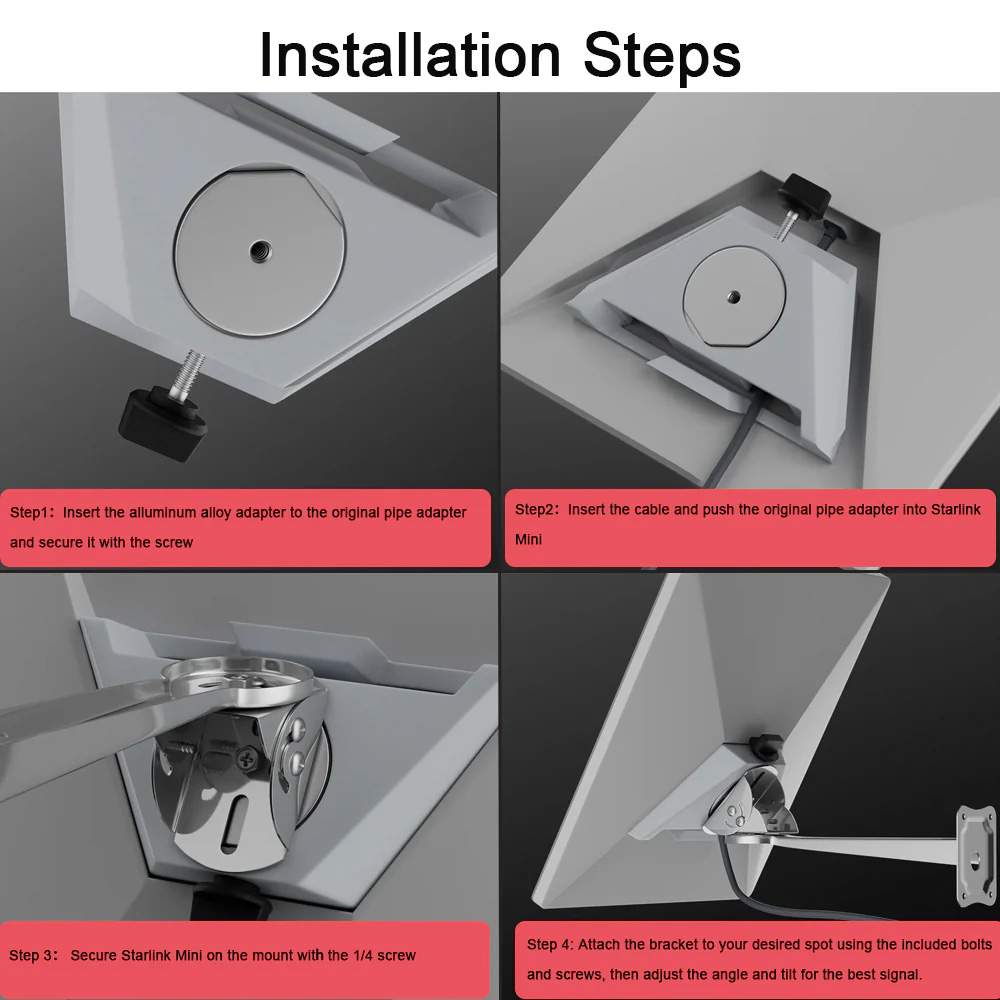
Step 1: Insert the Adapter and Secure with a Screw
Start by inserting the aluminum alloy adapter into the original pipe adapter of your Starlink Mini.
Then, tighten it with the included screw to lock it into place.
🛡️This step ensures your device is securely connected to the new mount adapter.
Step 2: Connect the Cable and Adapter to Starlink Mini
Slide in the cable and gently push the original pipe adapter into the bottom of the Starlink Mini dish.
Make sure the fit is snug and the connection is stable.
📶 This connection is vital for maintaining both power and signal clarity.
Step 3: Secure the Dish to the Mount with 1/4 Screw
Now, it’s time to mount the dish to the bracket. Attach the Starlink Mini to the mount using the 1/4 screw included in the kit.
Check that it is tightly fixed, with no wobble.
⚙️ A firm hold means your dish won’t move in strong wind or heavy rain.
Step 4: Bolt the Bracket to the Wall and Adjust the Angle
Choose your installation location—a concrete wall, wood siding, or roof edge.
Use the included bolts and screws to fasten the bracket to your wall.
Once mounted, adjust the angle to face the clearest part of the sky.
🛰️ Aligning your dish properly ensures maximum satellite visibility and high-speed internet.
Tips for the Best Signal Performance
Here are a few bonus tips to help you get the best results from your Starlink Mini and wall mount:
- Avoid obstructions like trees or buildings in the dish’s line of sight
- Double-check the tightness of all screws and brackets after installation
- Use a compass app to align toward the satellite constellation (usually north-facing)
For official satelit visibility zones and obstructions, you can use the Aplikasi Starlink or check the Starlink Support Page for real-time diagnostics and setup advice.
If you live in a high-wind or rainy area, rest assured—this mount is built to last. Its corrosion-resistant design helps protect your gear even in tough outdoor environments.
Why Choose a Quality Mounting Kit?
Choosing a high-quality mount is critical to the long-term reliability of your Starlink Mini setup. Unlike generic brackets, this adjustable kit is:
- Tested for stability in real outdoor conditions
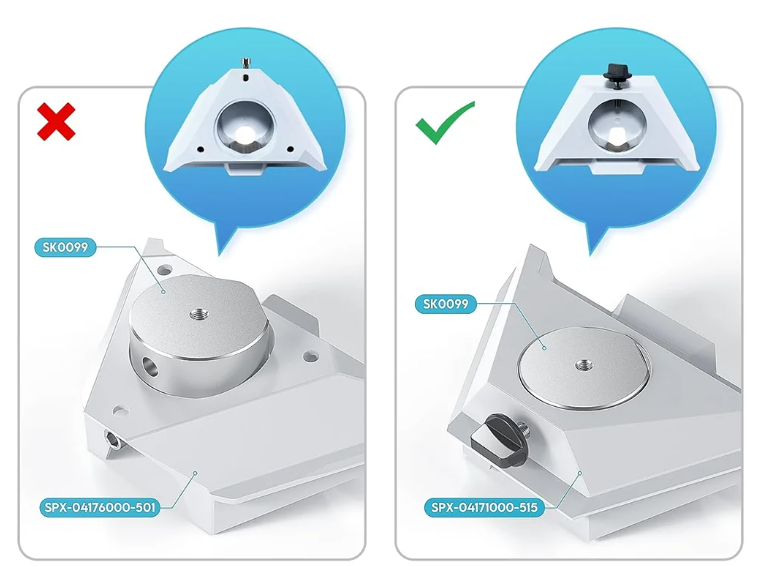
- Compatible with the old version of the Starlink Mini pipe adapter
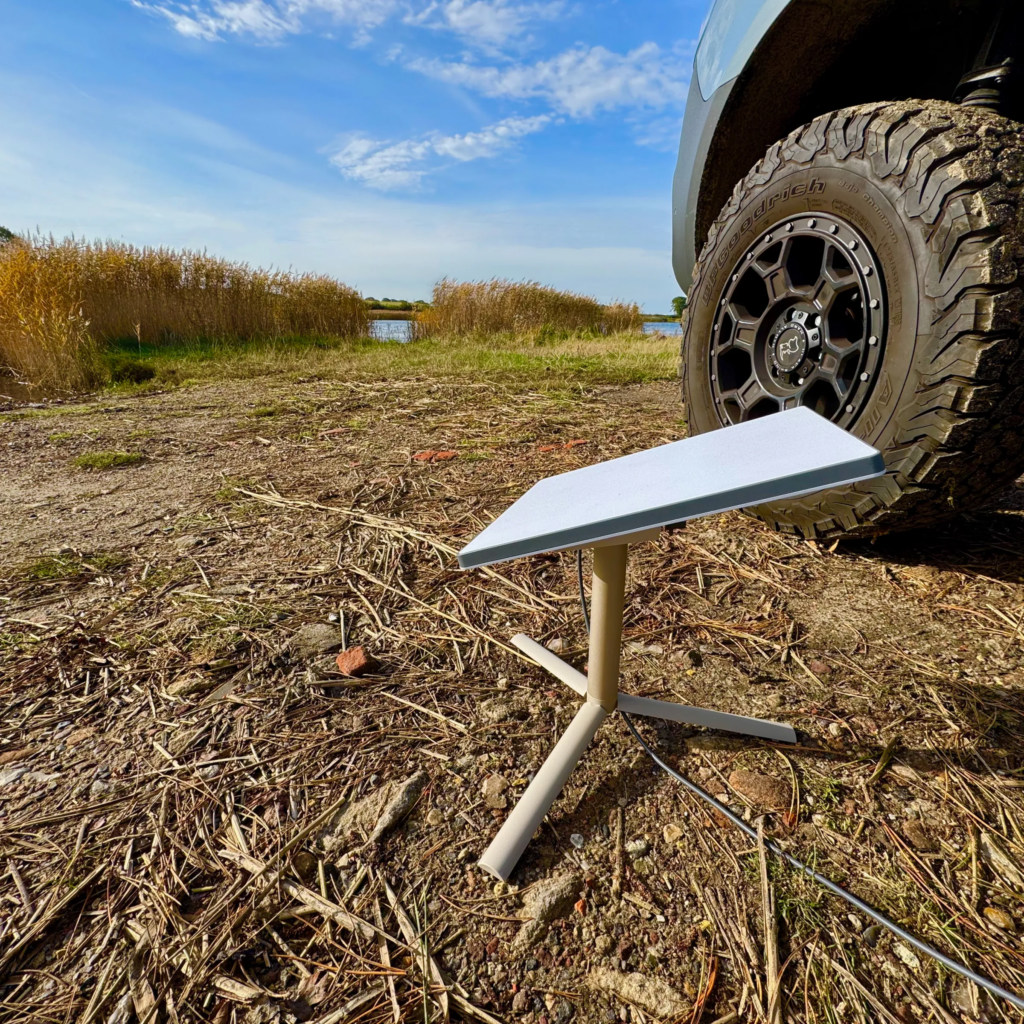
- Trusted by users across RVs, rural homes, and outdoor setups
For broader advice on safe outdoor equipment installation, refer to this FCC Consumer Guide on Outdoor Antenna Installations, emphasizing safety and best practices for alignment and weatherproofing.
Kesimpulan
Installing your Starlink Mini wall mount kit doesn’t have to be difficult. With just a few tools and the included parts, you can securely set up your satellite dish in under 30 minutes. Whether in the countryside, on an RV trip, or upgrading your home setup, this accessory guarantees a strong signal and safe installation.