As Starlink Gen 2 installation becomes essential for reliable internet in off-grid and rural locations, more homeowners and RV travelers are turning to this advanced satellite system for high-speed, low-latency connectivity. Whether you’re enhancing coverage in a remote cabin or maintaining a strong connection on the road, setting up your Starlink Gen 2 properly ensures optimal performance wherever you are.
In this guide, we’ll walk through the step-by-step installation of Starlink Gen 2 and highlight must-have accessories from Parts4Star.com to ensure a secure and efficient setup—whether at home or on the move.

What Is Starlink Gen 2?
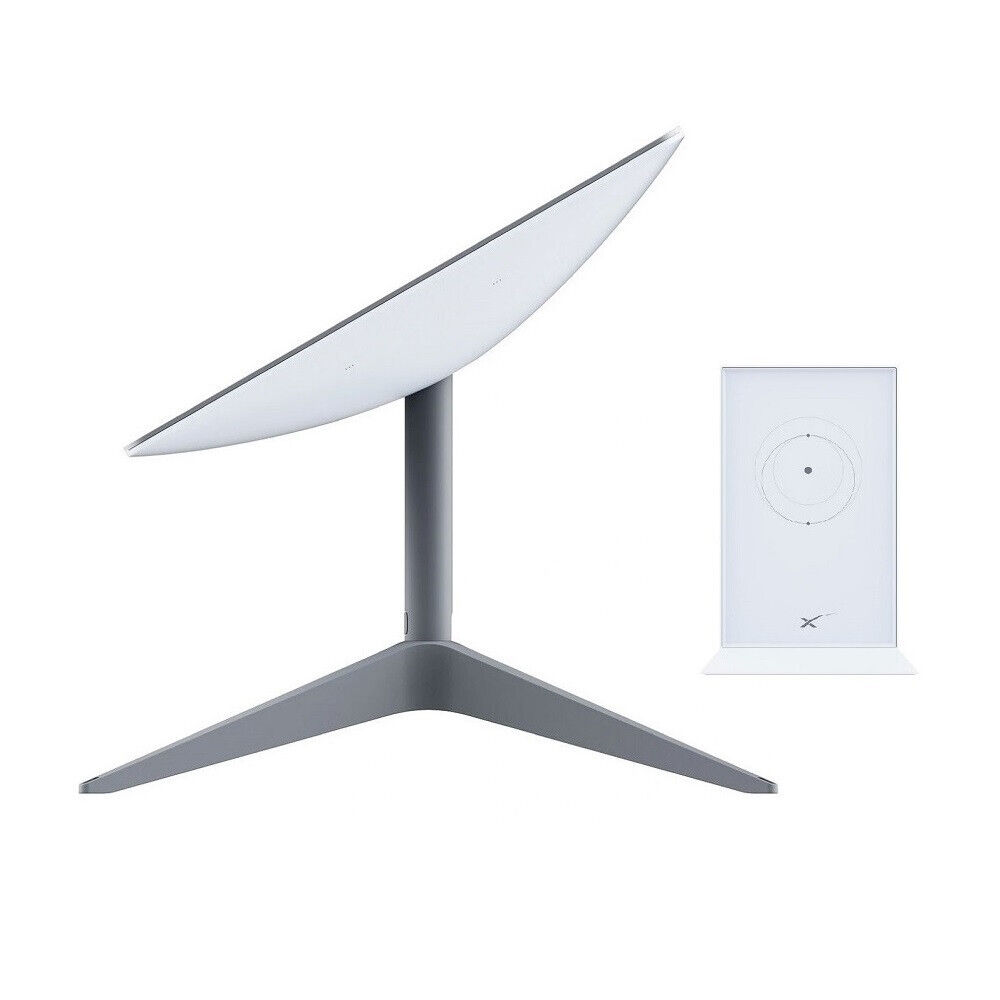
Starlink Gen 2 is the second generation of SpaceX’s satellite internet system, featuring a rectangular dish that’s lighter and more efficient than its predecessor. It offers improved hardware design and simplified cabling, making it ideal for fixed and mobile installations.
Key improvements include:
- A slimmer, more portable dish design
- Integrated Wi-Fi router
- Simplified single-cable connection
- Improved power efficiency

Tools & Accessories You’ll Need
Before beginning the installation, gather these essential items from Parts4Star.com:
- Starlink Gen 2 Roof Mounting Bracket – For permanent home or RV roof installations
- Pivot Pole Mount Adapter – Allows flexible angling for optimal satellite alignment
- Cable Routing Kit – Ensures a weatherproof and clean installation
- Starlink Ethernet Adapter – For hardwired network setups or mesh systems
- RV Flagpole Mount for Starlink – Ideal for temporary setups at campsites
- Starlink Hard Case or Bag – For safe storage during travel
Step-by-Step Installation at Home
1. Choose the Right Mounting Location
The dish must have a clear view of the sky. Avoid placing it near trees, chimneys, or power lines. Use the Starlink app’s obstruction tool to verify line-of-sight.
Recommended: Use the Parts4Star Gen 2 Roof Mount for a clean, high-elevation installation on your roof or eaves.

2. Assemble and Mount the Dish
Connect the dish securely to your chosen mount using the pivot pole mount adapter. The adapter allows slight angle adjustments for more precise satellite targeting.
3. Run the Cable Inside
Drill a hole near the mounting site and route the included cable inside using a cable routing kit. Seal all holes with weatherproof silicone for protection.
4. Connect to Power and Router
Plug the dish into the Starlink power supply and connect the integrated router. Use the Starlink Ethernet adapter from Parts4Star to link to a mesh router or switch for more stable connections.
Step-by-Step Installation in an RV
1. Use a Portable Mounting Solution
RVers prefer flexibility, so opt for a flagpole mount or tripod-style base. These mounts can be assembled quickly and moved around to find the best signal.
Tip: Pair your mount with the carrying case from Parts4Star for compact travel storage.

2. Park in a Clear Area
Always try to camp in a location with a wide-open sky view. Trees and cliffs can disrupt signals.
3. Connect the Dish and Setup
Plug the Starlink dish into the included power supply using your generator or inverter. Then, follow the setup process via the Starlink app.
Pro Tips for Optimizing Starlink Performance
- Avoid Obstructions: A 360° open sky view gives the best results
- Secure Cables: Use Parts4Star cable clips and protectors to prevent wear and tear
- Monitor via App: Use the Starlink app for signal diagnostics and firmware updates
- Weather Protection: Use silicone sealant around entry points, and consider a dish cover in snowy regions
Why Choose Accessories from Parts4Star?
At Parts4Star.com, every product is designed specifically for Starlink Gen 2 hardware. Whether you’re mounting your dish on a shingled roof, RV ladder, or campsite flagpole, our accessories ensure a stable, durable setup with easy installation.
Benefits of Buying from Parts4Star:
- Hardware tested with real Starlink units
- Fast shipping across the U.S.
- Dedicated customer support
- Built for long-term outdoor use
Final Thoughts
Installing Starlink Gen 2 at home or in an RV isn’t complicated—but the right accessories make all the difference. With reliable products from Parts4Star.com, you can build a stable, high-performance Starlink setup that keeps you connected anywhere.
Whether you’re off the grid or need fast internet where fiber doesn’t reach, Starlink, combined with the right tools, unlocks a new level of freedom.
Shop now at Parts4Star.com and upgrade your Starlink installation with premium mounts, adapters, and cable kits built to perform in real-world conditions.