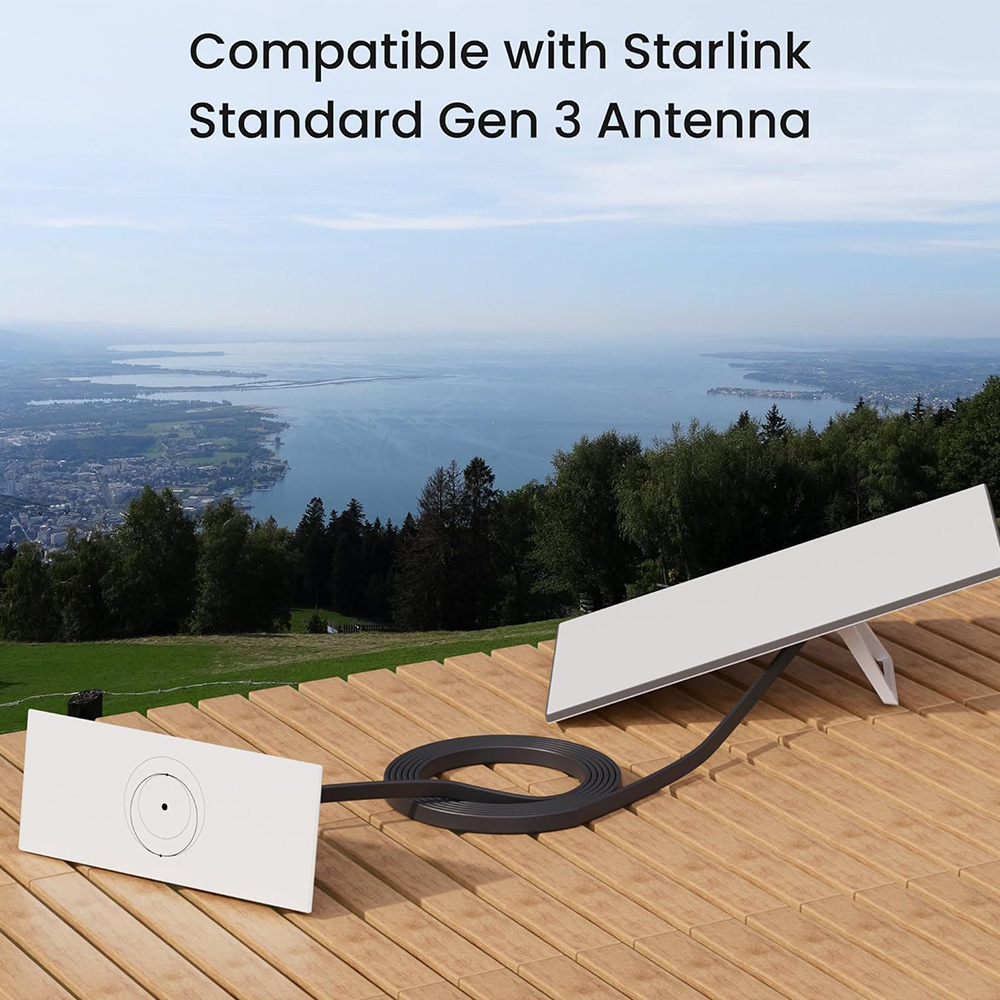
In today’s connected world, reliable internet access is essential—even in remote locations. Starlink Gen 3 has revolutionized satellite internet, offering faster speeds and lower latency. However, depending on your setup, the factory-supplied cable might not be long enough to place your dish in the ideal spot. That’s where a cable extension comes into play.
In this guide, we’ll walk you through everything you need to know about installing a Starlink Gen 3 cable extension—from choosing the right cable to setting it up properly—so you can enjoy a seamless connection no matter where you are.
Why Extend Your Starlink Gen 3 Cable?
There are several reasons you might need a cable extension:
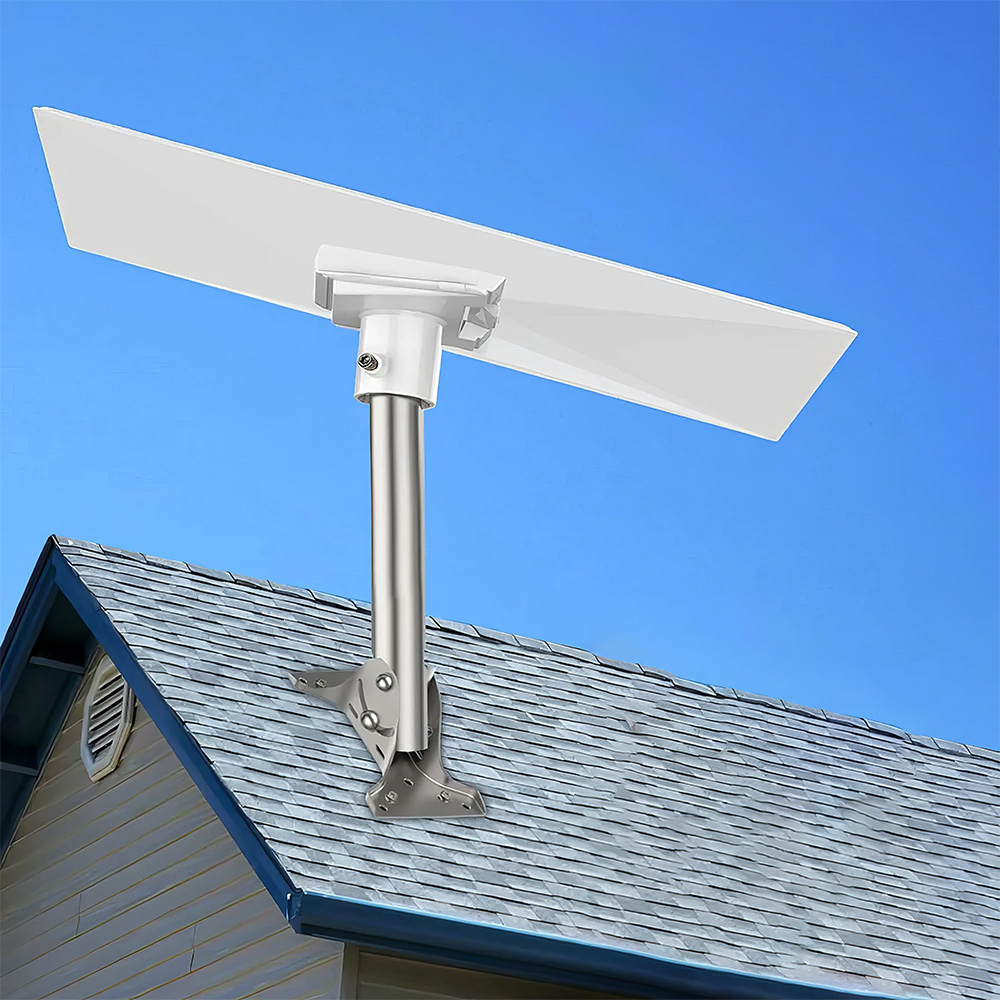
- Better Line of Sight: Place your Starlink dish where it has the clearest view of the sky, avoiding obstructions like trees or buildings.
- Safer Equipment Placement: To keep your router and equipment indoors while the dish remains safely mounted outdoors.
- More Flexible Setup: Especially useful for RVs, cabins, farms, and rural properties.
What You Need Before You Start
Before beginning the installation, make sure you have:
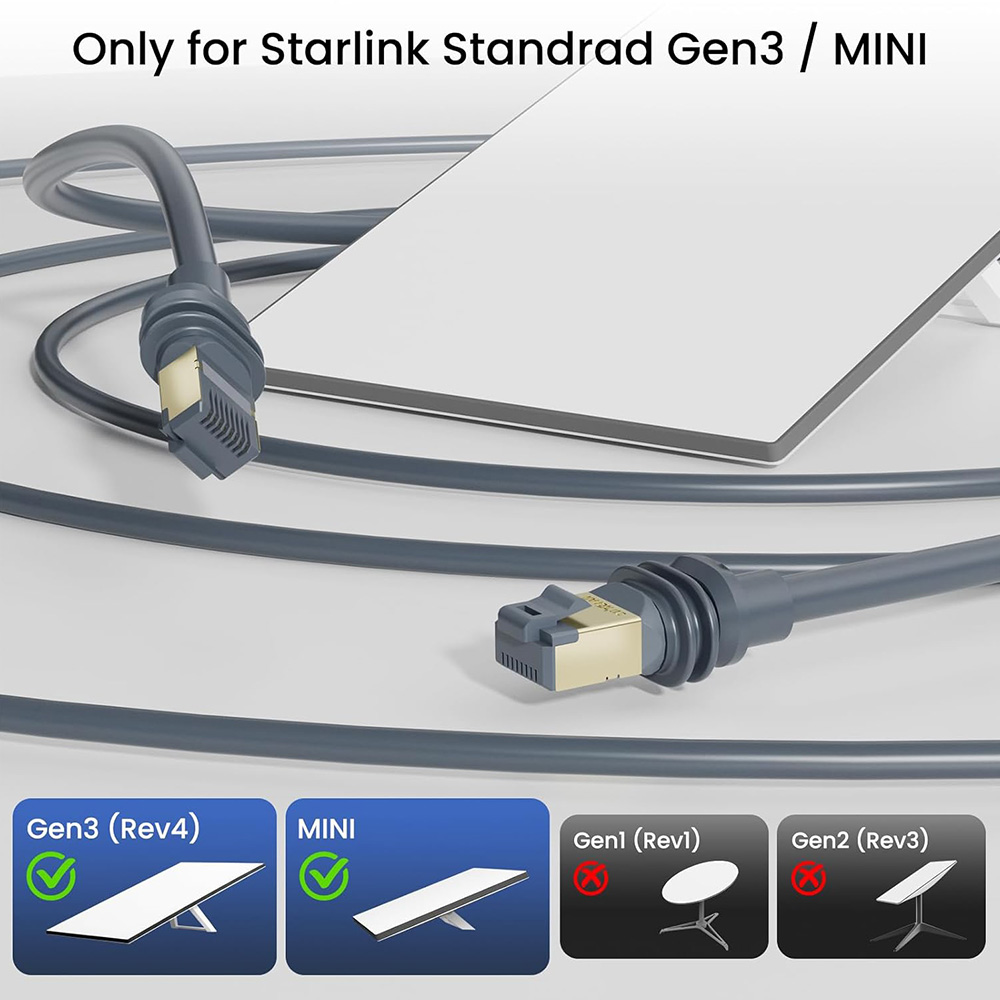
- A Starlink Gen 3-compatible extension cable (either official or high-quality third-party)
- Weatherproof connectors (if using multiple cable sections)
- Cable clips or conduit for securing the cable
- Basic tools: screwdriver, cable ties, ladder (if needed)
Tip: Always verify the extension cable is rated for outdoor use and matches the required specifications for Gen 3 hardware, such as shielding and connector types.
Choosing the Right Extension Cable
The Starlink Gen 3 system uses specialized cabling that combines power and data (PoE – Power over Ethernet). Using the wrong cable type can lead to signal loss or device malfunction.
When selecting a cable:
- Look for Starlink-specific third-party options or purchase directly from Starlink.
- Stick to CAT5e, CAT6, or higher-rated shielded cables designed for outdoor conditions.
- Avoid standard Ethernet cables that aren’t made to carry the required voltage and data speed.
Many users recommend cables from trusted suppliers that offer pre-terminated Starlink Gen 3-compatible extensions for a plug-and-play experience.
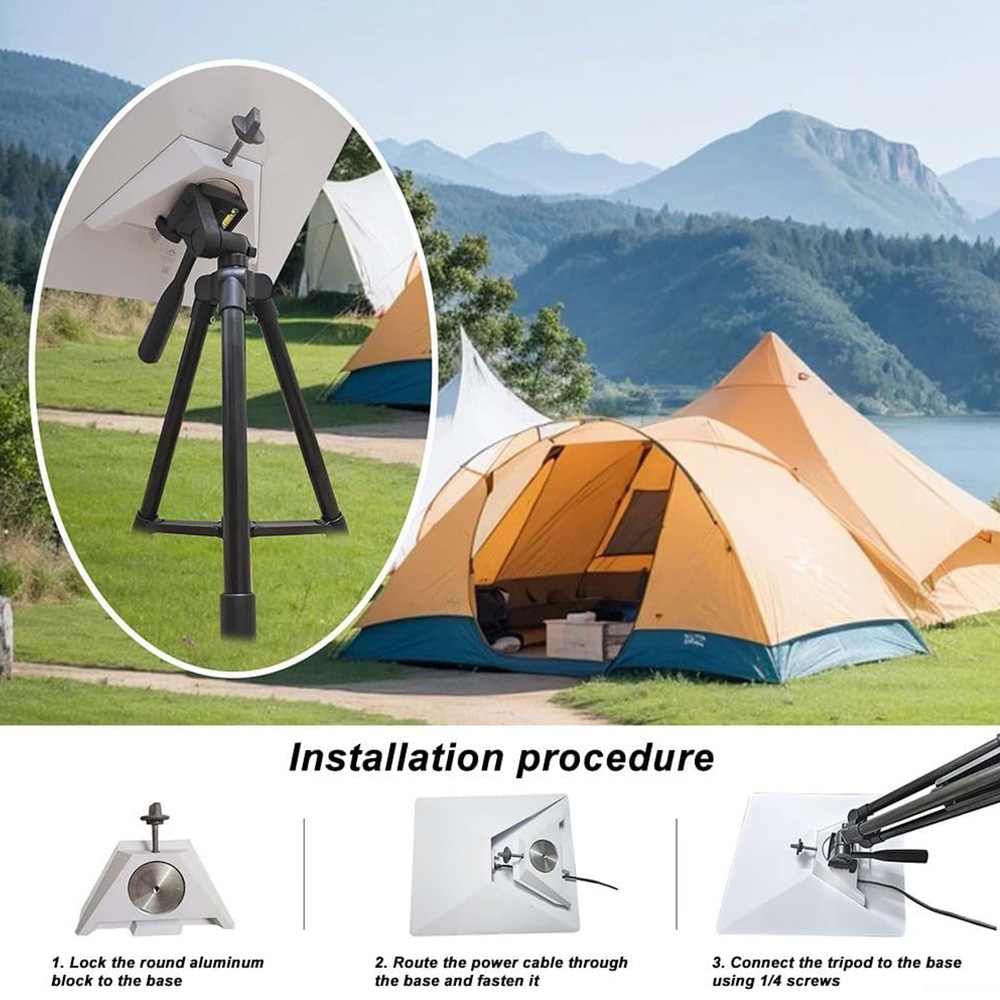
Step-by-Step Installation Guide
1. Power Off Your Starlink System
Always start by disconnecting power to avoid any electrical issues.
2. Disconnect the Original Cable
Unplug the existing cable from the dish (terminal) and the router.
3. Connect the Extension Cable
Attach one end of your extension cable to the dish and the other to the router, using any included weatherproof connectors if necessary.
Important: Ensure the connections are snug and properly seated to prevent water intrusion or disconnection.
4. Secure the Cable
Use cable clips, ties, or conduits to run the cable neatly along walls, poles, or underground pathways. Keep the cable away from sharp edges or areas that might be pinched or damaged.
5. Power Up and Test
Once everything is securely connected, restore power to the system.
The router and dish should automatically recognize the new cable.
Use the Starlink app to verify signal strength and internet speed.
Things to Watch Out For
- Maximum Recommended Length: Extending beyond 150 feet (about 45 meters) may cause signal degradation without ultra-high-quality cable.
- Weatherproofing: Ensure all outdoor connections are sealed against moisture to prevent corrosion.
- Tension: Avoid pulling the cable too tight, which could damage the internal wiring over time.
Final Thoughts
Extending your Starlink Gen 3 cable is a straightforward project that can dramatically improve your satellite internet experience. Whether you’re placing the dish at the top of a hill, on a high roof, or just outside your RV, having the right cable and following best practices ensures a strong, stable connection.
If you’re looking for trusted extension options, Starlink now offers official Gen 3 extension kits, and several third-party manufacturers have developed high-quality alternatives tailored to Starlink’s specs.
Stay connected, even in the most remote corners of the world.