If you’ve been dealing with spotty Wi-Fi or laggy video calls, installing a Starlink Ethernet adapter might be time for a powerful yet simple upgrade. With the STARGEAR SPX to RJ45 Ethernet Adapter Coupler, available now at parts4star, you can instantly enable a wired connection on your Starlink Gen 2 system.
This 5-step visual guide will show you exactly how to set up the adapter with your Starlink dish and router cables using the Dish Adapter, Router Adapter, or complete set.
Why Install a Starlink Ethernet Adapter?
Starlink Gen 2 systems do not include an Ethernet port by default. That means if you want to:
- Use a mesh Wi-Fi system
- Connect directly to a smart router
- Enjoy more stable and lower-latency gaming or streaming
- Wire your connection to smart home or office setups
… you’ll need to install a Ethernet-адаптер Starlink like the STARGEAR SPX model to bridge the gap between your dish and your local devices.

Step 1: Choose the Right Adapter Setup
The STARGEAR SPX Adapter comes in three configuration options:
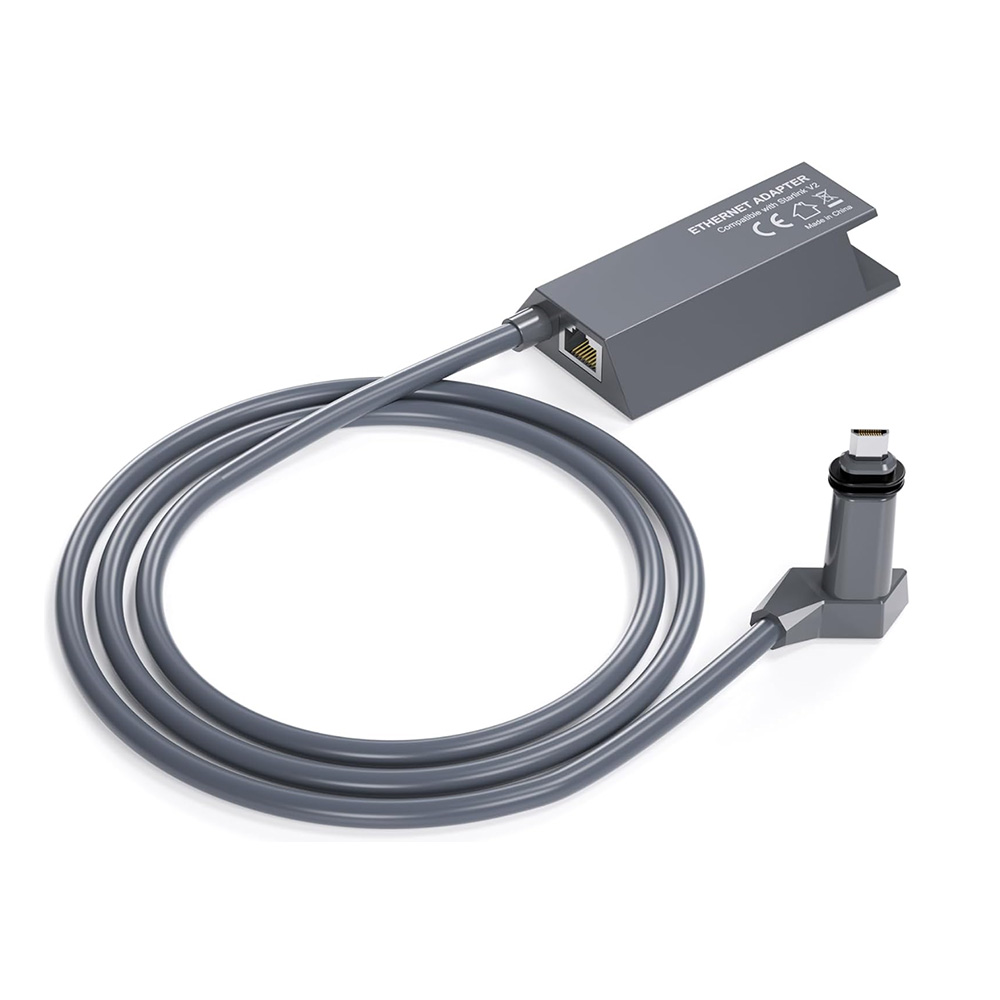
- Dish Adapter Only (1 Pc) – Use this if bypassing the Starlink router
- Router Adapter Only (1 Pc) – For connecting downstream to LAN devices
- Dish and Router Adapter Set (2 Pcs) – For full inline Ethernet passthrough
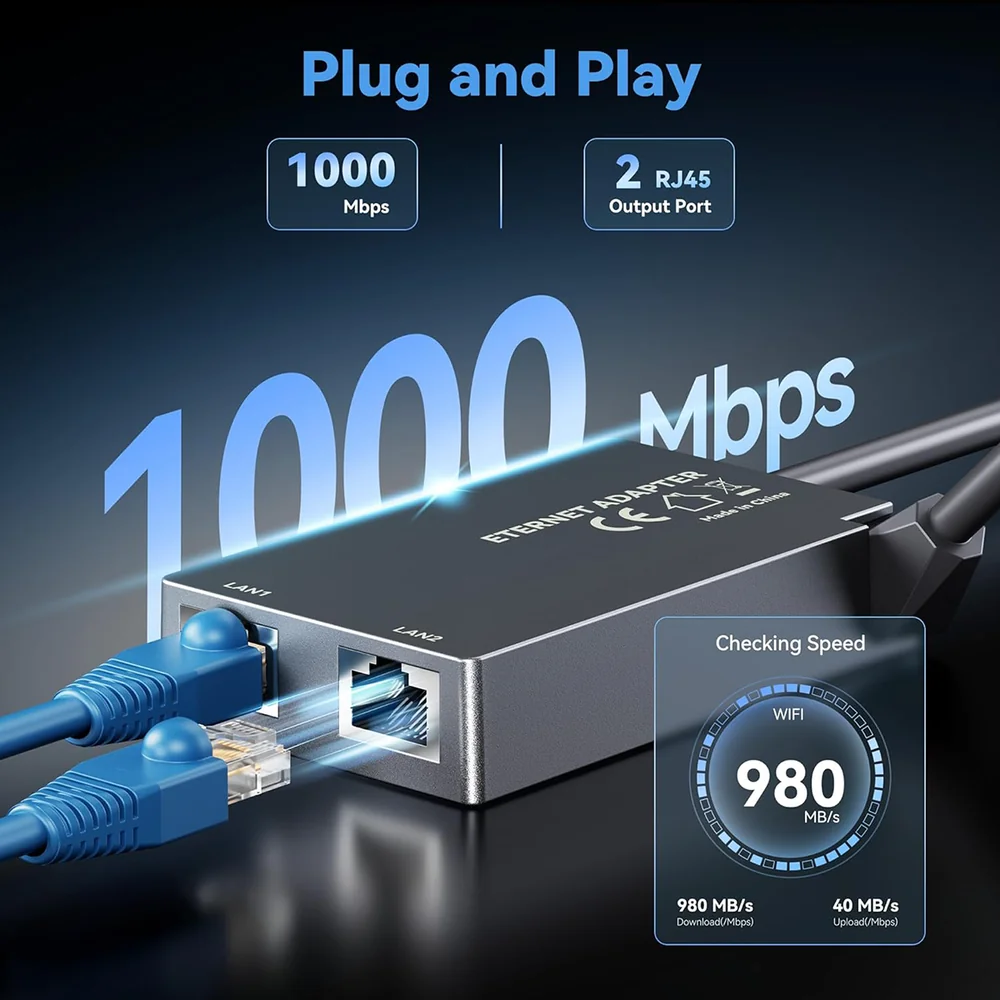
We recommend using the complete set for most users. It creates an Ethernet junction between the dish and router, with an RJ45 port for wired access.

Step 2: Power Off Your Starlink System
Before making any connections, unplug your Starlink power supply completely. This prevents short circuits or system errors during installation.
- Remove the power plug from the wall outlet
- Wait at least 10–15 seconds to allow complete shutdown
⚠️ Do not attempt to connect the adapter while the router is powered on.
Step 3: Disconnect the Dish and Router Cables
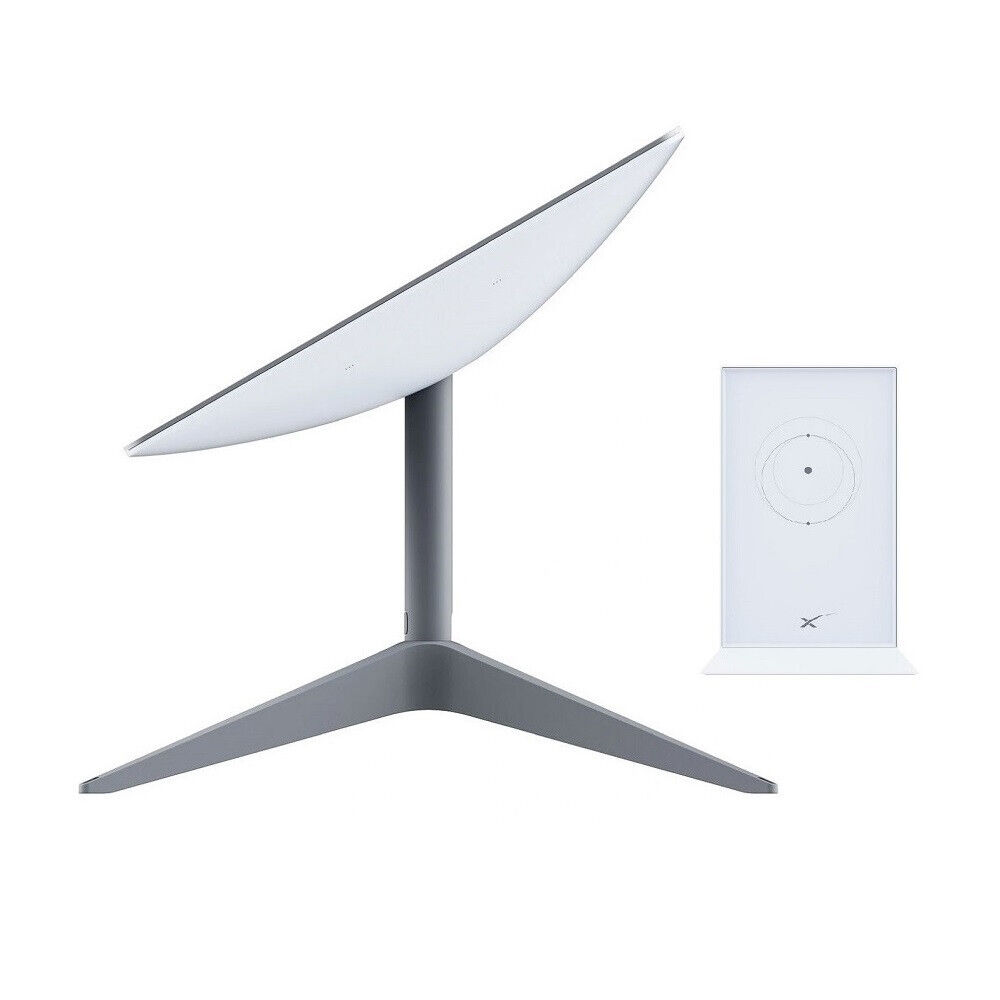
Locate the Старлінк cable running from the dish to the router. On Gen 2 systems, it’s a single cable with proprietary connectors on both ends:
- Dish Cable End → Connects to the Starlink satellite dish
- Router Cable End → Connects to the white Starlink router
Gently unplug both ends from their respective ports.

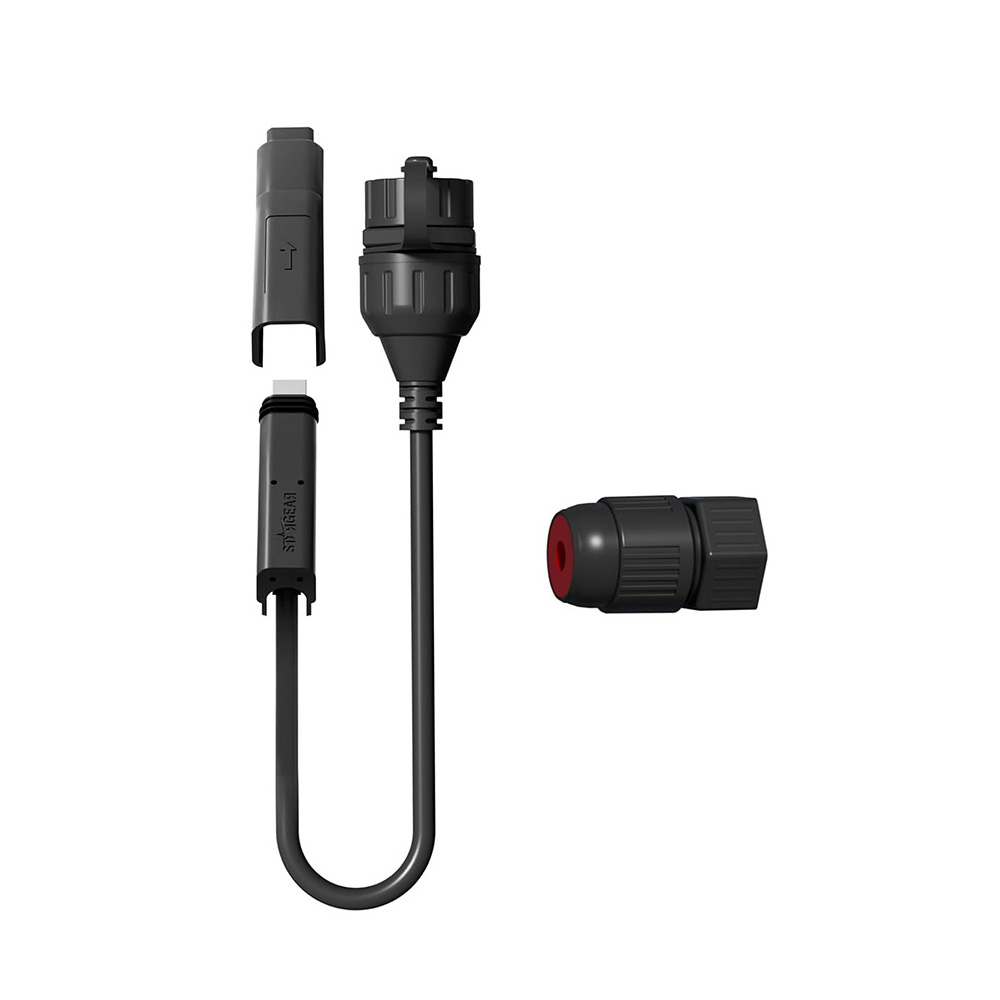
Step 4: Install the STARGEAR Ethernet Adapter
Now plug in the STARGEAR SPX Adapter set as follows:
Option A: Full Adapter Set (Recommended)
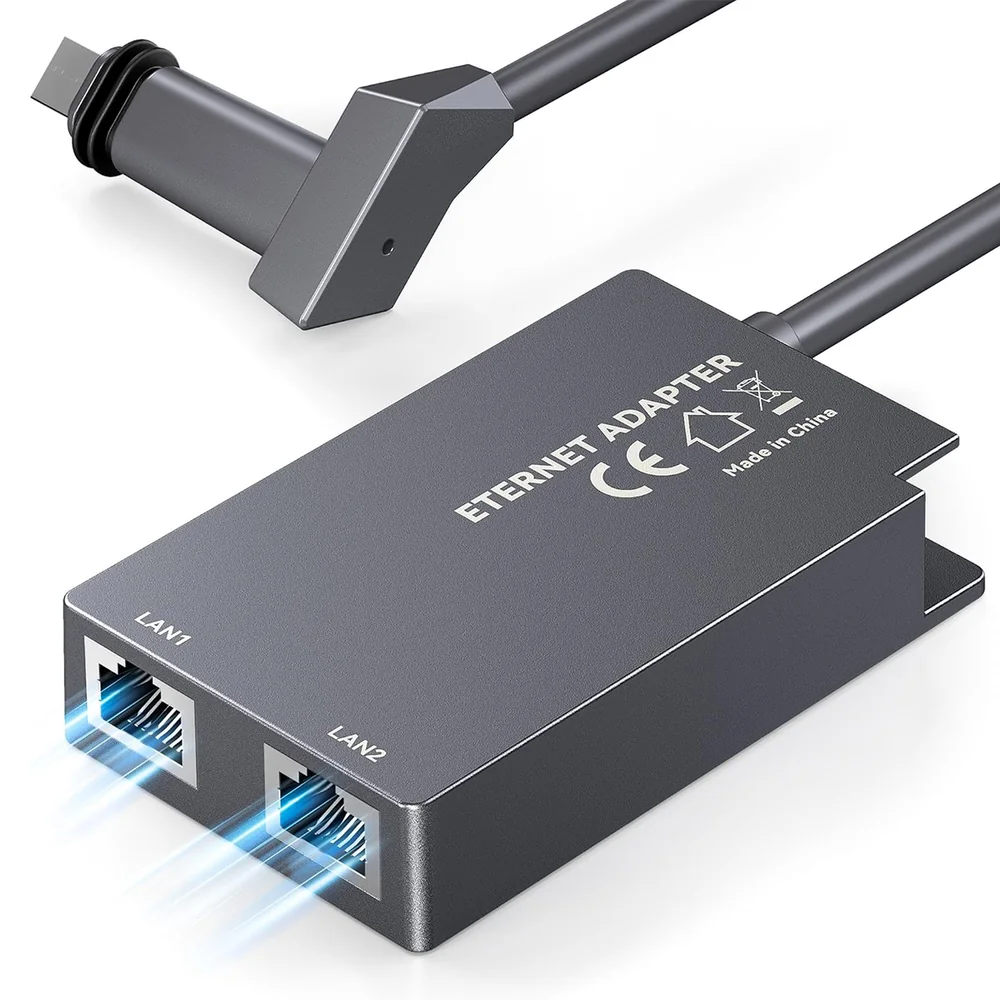
- Plug the Dish Adapter into the dish cable
- Plug the Router Adapter into the router cable
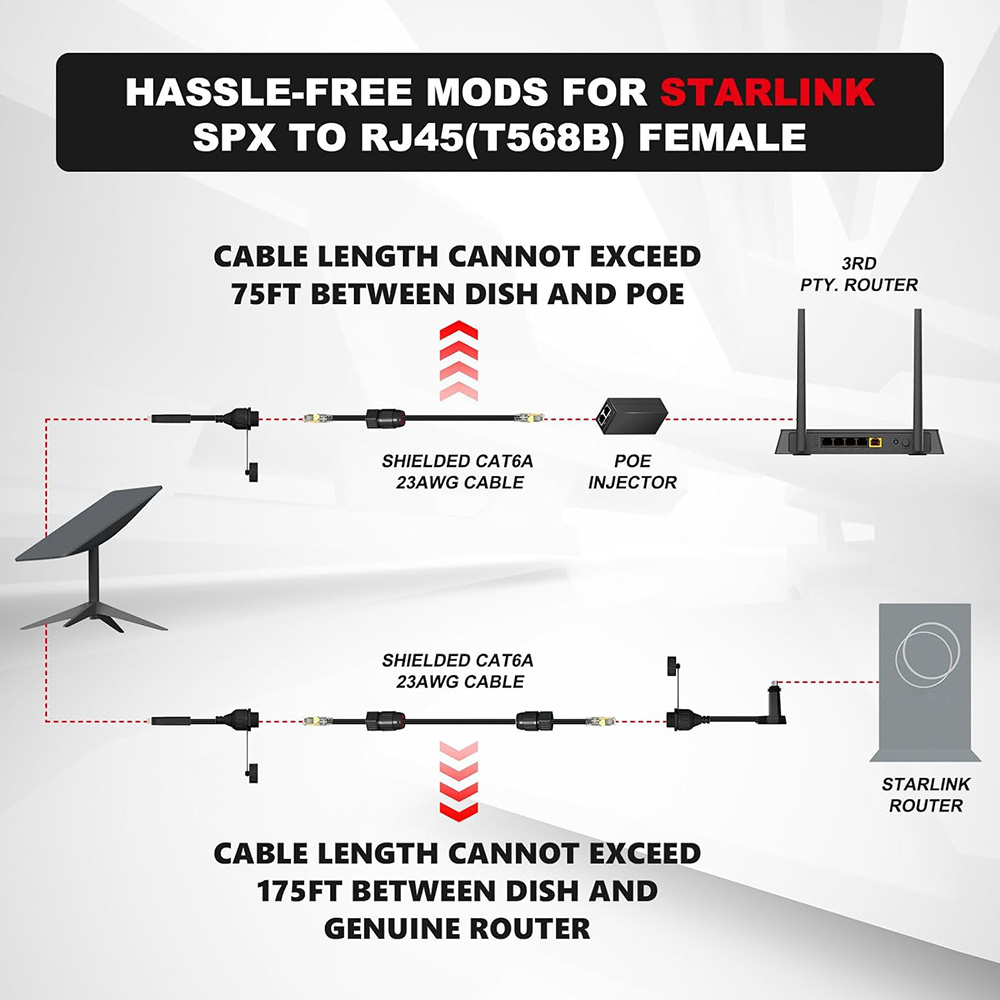
- Use a high-quality RJ45 Ethernet cable to connect the two adapters
🎯 This setup enables inline Ethernet passthrough and lets you split or route your connection anywhere.
Option B: Dish Adapter Only
Use only the Dish Adapter and connect its RJ45 port directly to your custom router or PoE switch (bypassing Starlink’s default router).
Step 5: Reconnect and Power Up
Once everything is connected:
- Plug both ends back into the dish and router as appropriate
- Plug in your Starlink power supply again
- Within 30–60 seconds, the adapter should establish a working wired connection
Tips for Best Performance
- Використання Cat6 or Cat7 Ethernet cables for optimal speed
- Keep cable lengths under 100ft for best signal
- Secure the adapters with included lock rings to ensure watertight seals (great for outdoor setups)
- The adapter also works in RV, off-grid, or mobile Старлінк kits if using Gen 2 cables

Висновок
Встановлення Старлінк Ethernet-адаптер is an easy and powerful way to unlock wired connectivity for your satellite internet setup. The STARGEAR SPX to RJ45 Adapter Coupler, available at instantseaudit.com, is designed explicitly for Starlink 2-го покоління users who need performance and flexibility.
Whether you’re building a more intelligent home network, adding mesh nodes, or reducing Wi-Fi interference, this adapter gets the job done—fast.
Ready to upgrade? Order your STARGEAR Adapter today at instantseaudit.com before stock runs out!